Converting images on Mac or iOS devices is not a tough process, it is a very easy process, because of the built-in tools and user-friendly applications. The built-in converter helps in quickly changing the format of the file of common image files. Here is a simple guide By following it you can easily convert images using the built-in platforms.
Convert Images on Mac
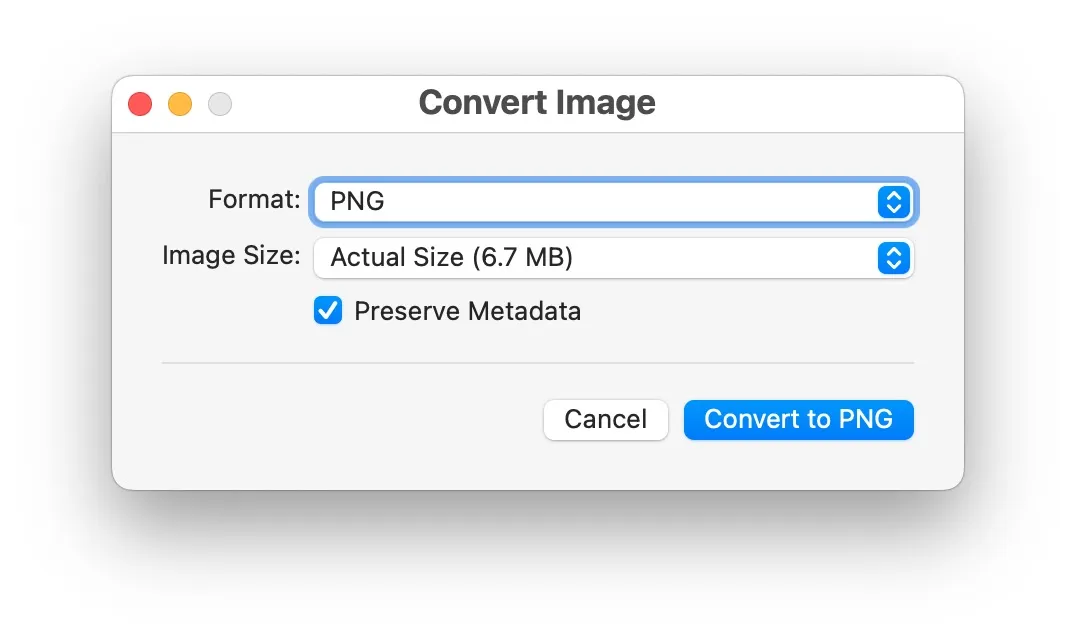
In Mac, there is one built-in platform which is known as “Preview”. It is the best application as it is very powerful for image conversion. To convert your image on Preview, just follow these steps:
First step: Open the image in Preview.
Second step: Go to the file menu and then select export.
Third step: Choose your format like JPEG, PNG, or TIFF, from the format dropdown menu.
Fourth step: In the last adjust the quality setting if necessary and then save it simply.
Also Read – How to convert PNG to JPG or JPG to PNG?
Convert Images on iOS
Converting images on iOS is also not a big job, converting images is equally straightforward by using the Shortcuts application. Follow these simple steps to convert your image:
First step: Open the Shortcuts application and create a new shortcut.
Second step: Add the select photo and convert image options.
Third step: Choose the main outputs format and then save the shortcut.
Fourth step: In the last step run the shortcut to select and convert images.