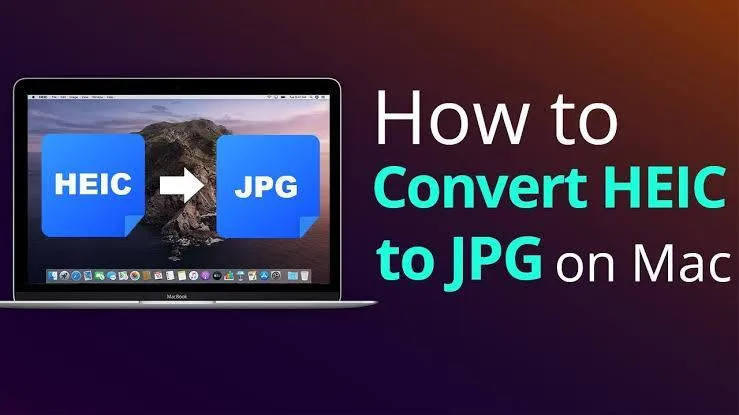
The High-Efficiency Image Format (HEIC) offers superior image quality and has smaller filesize, but it’s not universally supported. Converting HEIC to compatible formats such as JPG or PNG becomes very important, mainly when sharing or editing images on different platforms. Here is a very simple guide on converting HEIC to JPG or PNG on a Windows PC or Mac. So read this blog till the end.
Convert HEIC to JPG or PNG on a Windows PC
Use Built-in Tools:
Windows 10 and above offer built-in support for HEIC conversion. First, right-click on the HEIC file, then select “Open with” action, and choose “Photos”. After that, click on the file option and then save as. Then select either JPG or PNG from the format options.
Third-Party Software:
There are a lot of free and paid software such as COpyTrans HEICH or iMazing HEIC Converter for Windows which offer batch conversion capabilities and some great additional features.
Also Read – How to convert images to JPG on mobile?
Convert HEIC to JPG or PNG on a MAC
Preview Application:
First, open the HEIC file in Preview. Then click on “File”, then click on “Export”, and after that choose the format either JPG or PNG from the format dropdown. Then adjust settings if it is needed and last click on the save option.
Automator:
Mac’s Automator application gives allowance to users to create custom workflows. Open the Automator and then select “Quick Action”. Then drag the “Change Type or Images” action to the workflow. Choose the format that you want and save the workflow.


